

It is a good practice to make sure all of your dip switches are set to the factory position on all of your flow selector boxes during installation. If the dip switches are not set in the factory position you will have L11 and E17 error codes to follow. You can verify the factory dip switch settings by looking at access door on the flow selector box. The L11 and E17 error codes can also be caused by wiring issues, good wiring practices can prevent having problems.
Changing dip switches on your flow selectors is not necessary because all of your flow selector addresses and port numbers are set using and codes 00FE and 0105 on your thermostat. Making sure your flow selector address and your flow selector port address is correct will make the start up process much easier. If care is taken and you have a good understanding of the wiring and installation of a VRF system the start up process can be close to seamless.
L11- Detected indoor unit address, Flow selector unit not connected.
E17- Communication trouble between indoor unit and flow selector unit.
June 10, 2024
Infinity/Evolution Server Connection Issues
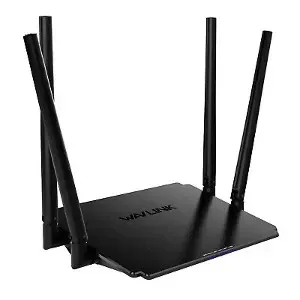
The most effective solution to correct the server connection issue is to connect to a dedicated 2.4G router. Connecting a wireless router involves several steps, but don’t worry, I’ll guide you through each one. Here’s a detailed explanation:
1. Unbox the Router: Open the packaging carefully and take out the wireless router along with its accessories, including the power adapter, Ethernet cable, and any documentation or installation guides.
2. Choose a Suitable Location: Decide where you want to place your router. Ideally, it should be in a central location within your home or office to ensure maximum coverage. Also, try to keep it elevated and away from obstructions like walls, furniture, and appliances that can interfere with the signal.

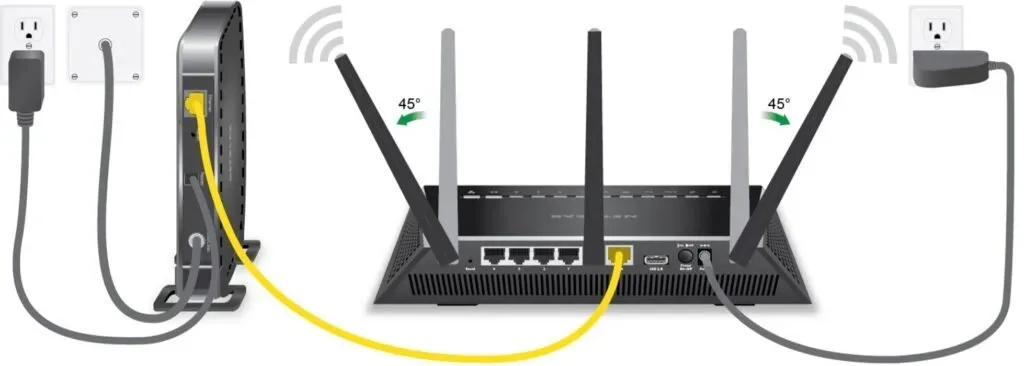
3. Connect to Power: Plug the power adapter into an electrical outlet and connect the other end to the power port on the router. Ensure that the router is receiving power by checking for any indicator lights on the device.

5. Connect to Modem: If you have a separate modem (provided by your ISP), you’ll need to connect it to the router using an Ethernet cable. Plug one end of the Ethernet cable into the Ethernet port on the modem and the other end into the WAN (Wide Area Network) or Internet port on the router. This connection allows your router to access the internet through the modem.
6. Power On: Turn on the router by pressing the power button (if available) or simply by plugging it in. Wait for a minute or two for the router to boot up completely. During this time, the router will perform self-checks and establish connections with your modem and other devices.

7. Connect Devices: Now that your wireless network is set up, you can connect your Infinity/Evolution controller.


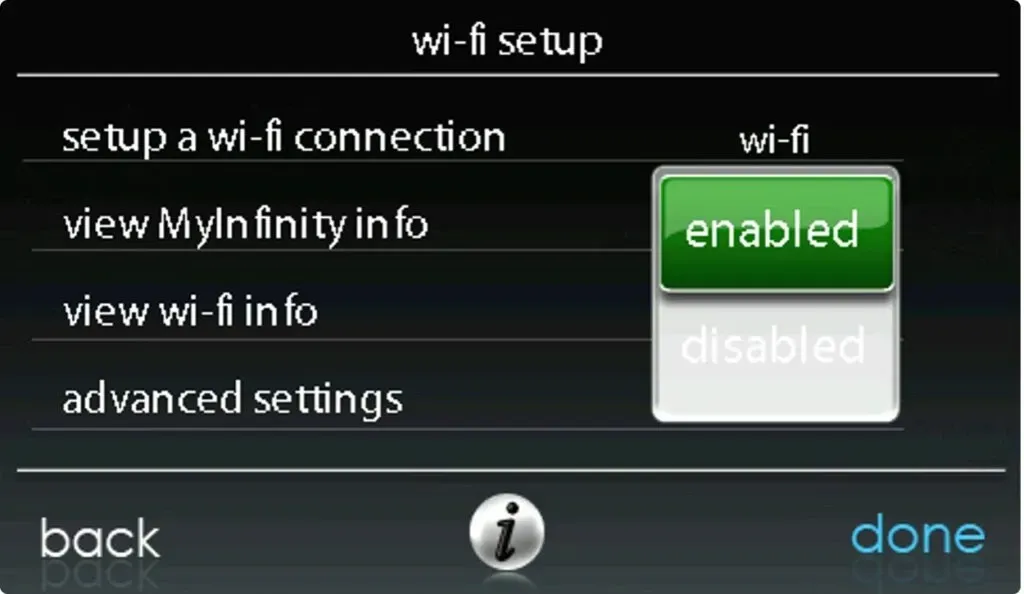
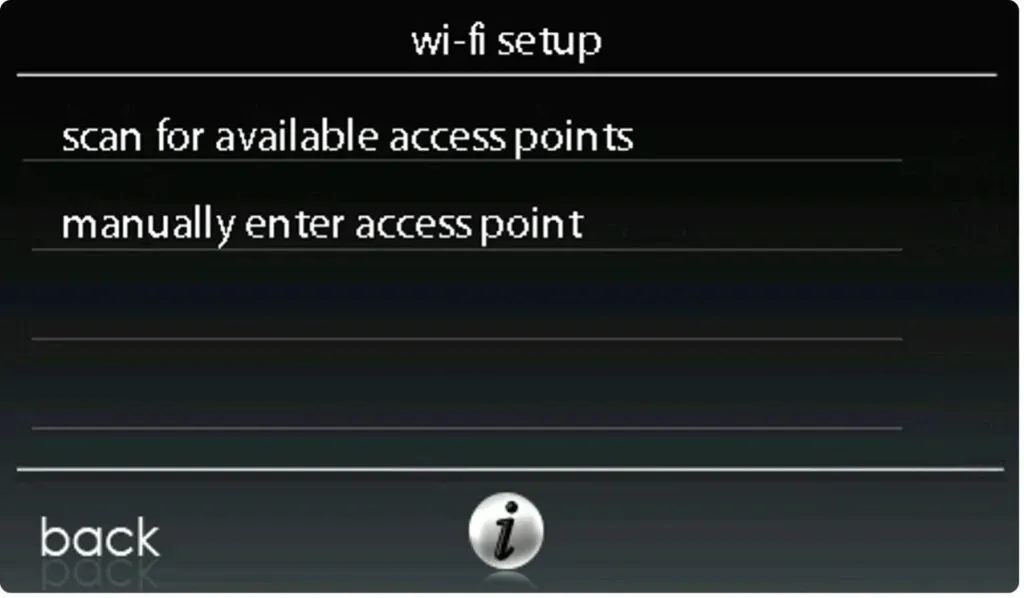
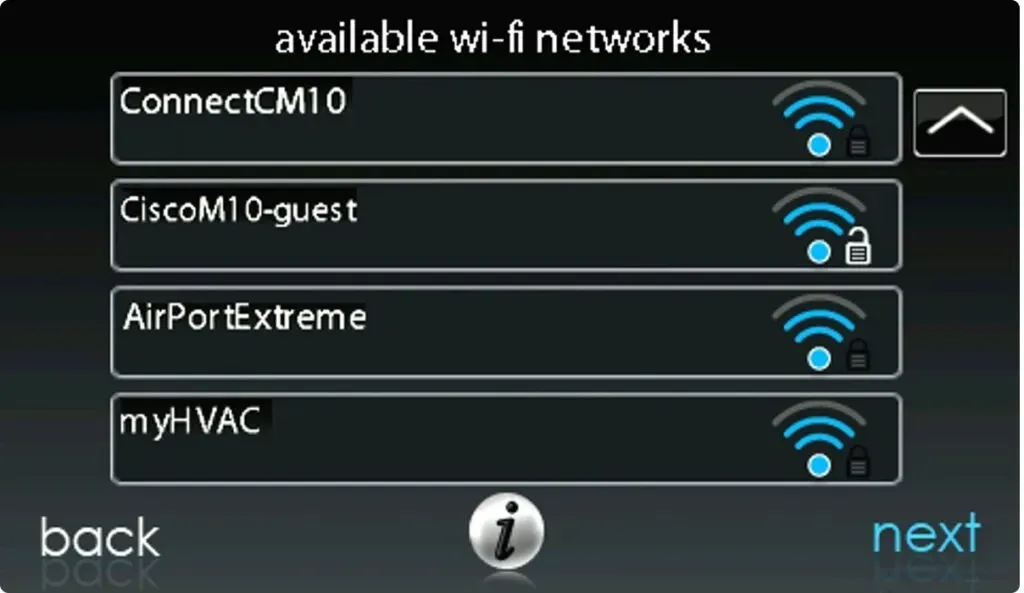
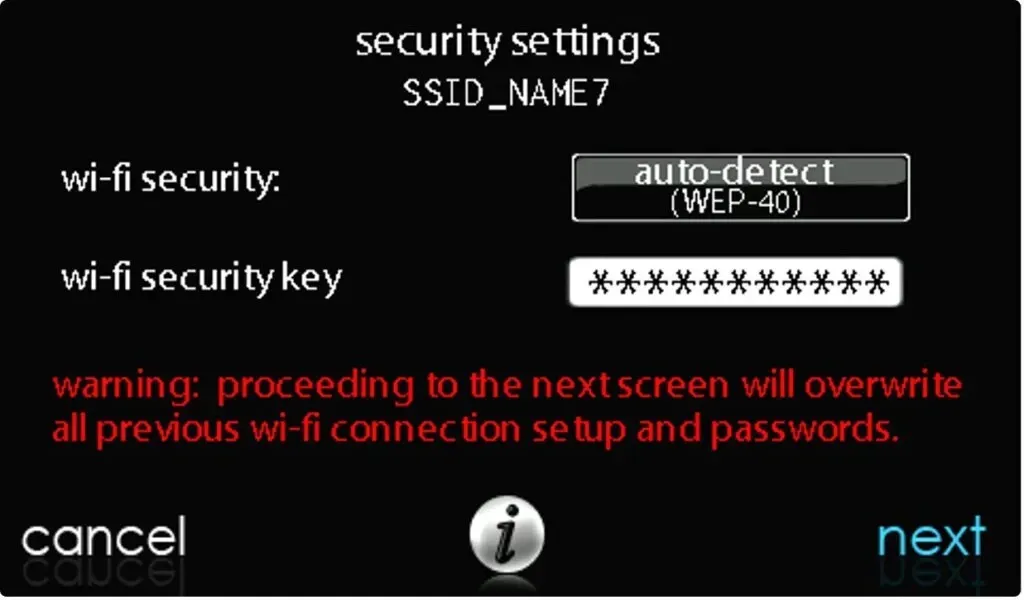
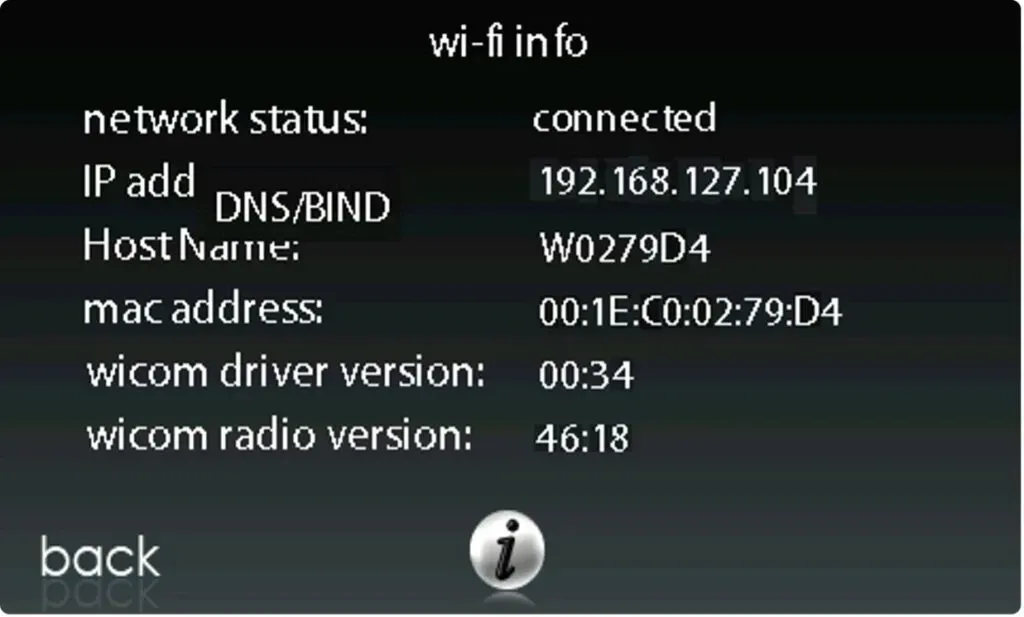
8. Wi-Fi Setup: Enable Wi-Fi under settings, scan for access points, and chose the new router from the list. Enter the password that came with the new router, and watch it connect.


That’s it! Your wireless router should now be successfully set up and ready to use.
Disclaimer: The technical statements, information and recommendations contained herein are believed to be accurate as of the date hereof, but Mingledorff’s does not make representations or warranties, express or implied, as to its accuracy, its completeness, or the results to be obtained. The information is being provided for informational purposes only and is intended for use by persons having adequate skill and expertise regarding the proper selection, use and application of the products and recommendations and at their own risk and discretion.
More to Explore


